一、获取refresh token
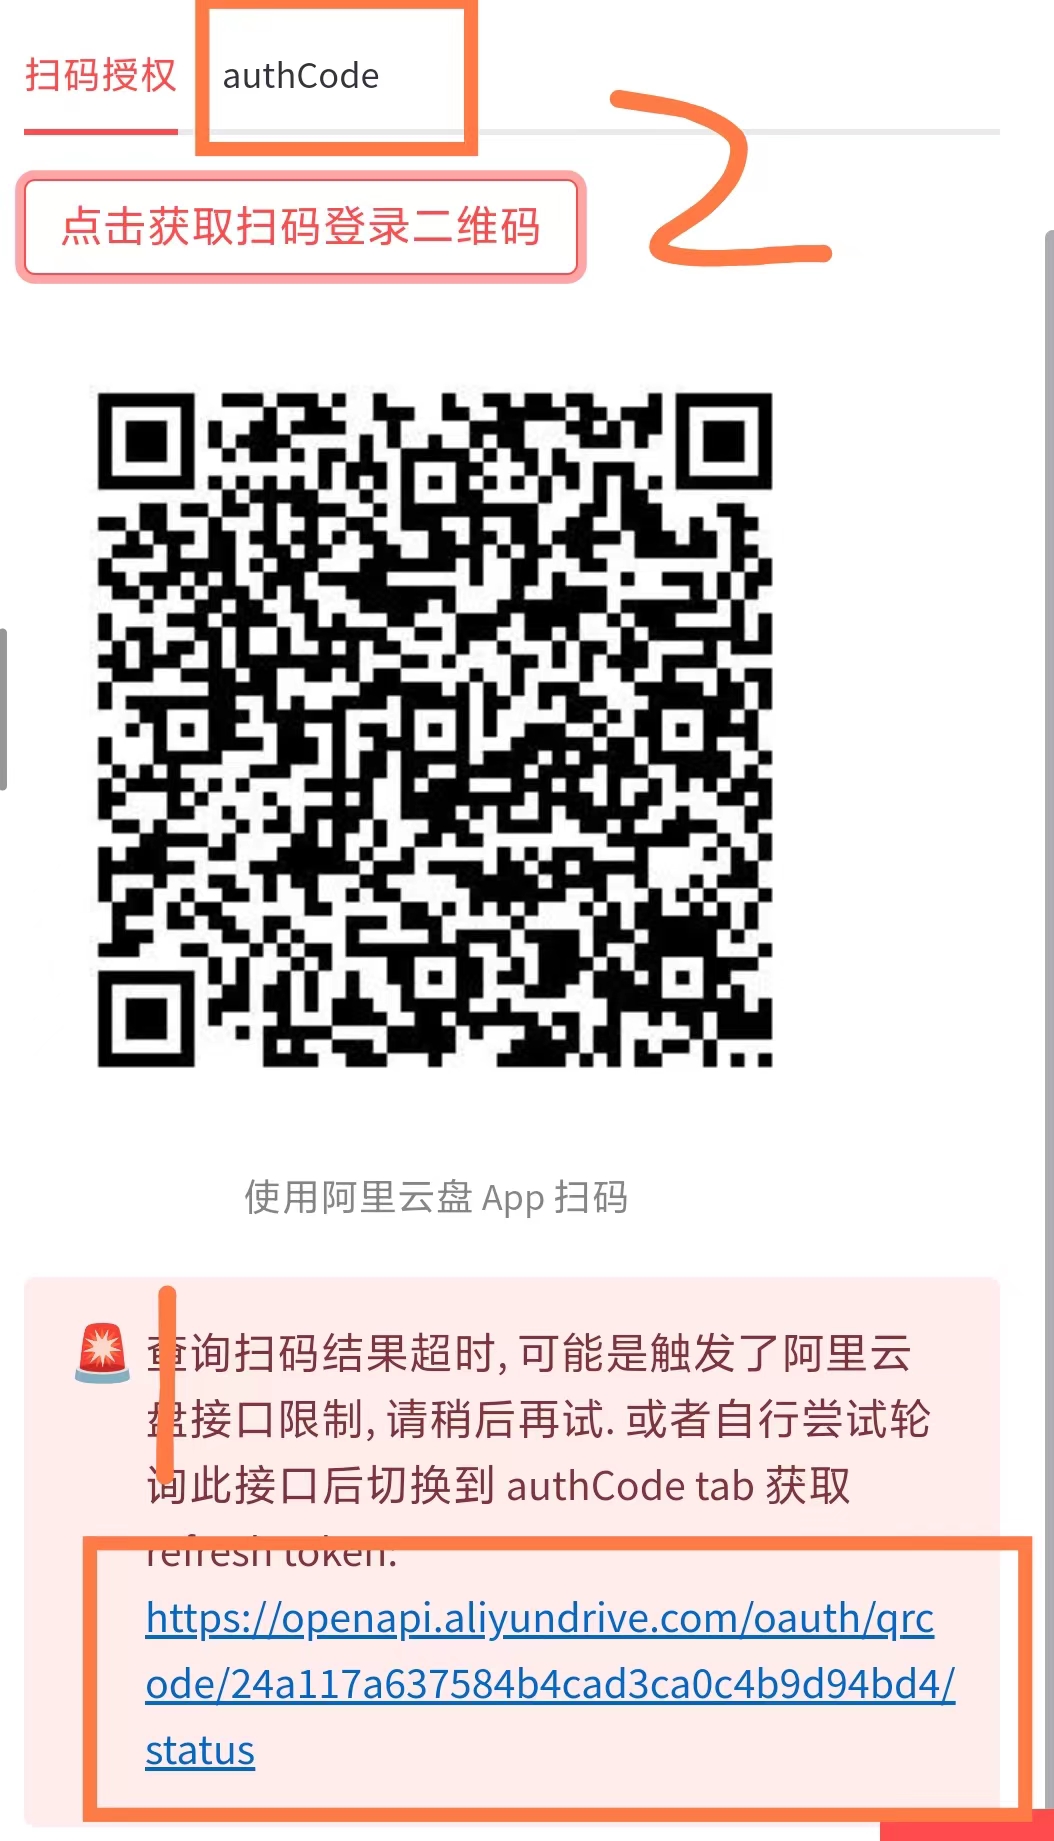
在线工具获取refresh token
如果显示获取超时,那就执行以下步骤即可
先扫码后点1,然后把1的token放到2里面就可以回去refresh token了。
命令行运行 aliyundrive-webdav qr login 扫码授权后会输出 refresh token
我们下面要使用docker运行aliyundrive-webdav,不能直接使用命令行,我们要先执行docker exec -it aliyundrive-webdav sh进入容器后执行aliyundrive-webdav qr login即可.
ps. unraid直接在界面点击打开容器就能直接进入容器内部。
二、Docker 运行 1 2 3 4 5 6 7 8 docker run -d --name=aliyundrive-webdav --restart=unless-stopped -p 8081:8080 \true \
ps. 只需要更改REFRESH_TOKEN即可,第6、7行官网没有可以不加。
等号前后不能加空格
一般我使用 ‘127.0.0.1:8081:8080’
docker-compose.yaml
1 2 3 4 5 6 7 8 9 10 11 12 13 14 15 16 version: '3.3' services: aliyundrive-webdav: container_name: 'aliyundrive-webdav' image: 'messense/aliyundrive-webdav:latest' restart: 'unless-stopped' ports: - '8081:8080' volumes: - '<your_path>:/etc/aliyundrive-webdav' environment: - 'REFRESH_TOKEN=<your_token>' - 'WEBDAV_AUTH_USER=<your_username>' - 'WEBDAV_AUTH_PASSWORD=<your_password>'
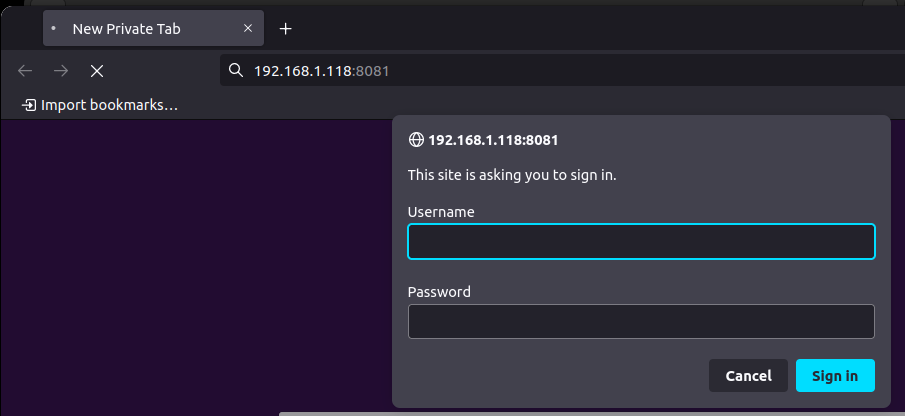
运行完成后我们访问http://ip:8081 既可访问阿里云的webdav
怎么将aliyunwebdav挂载到本地(群晖、unraid、Linux)?
三、使用rclone挂载 rclone官网
rclone gthub仓库
安装rclone 1 2 3 4 5 6 7 8 9 10 11 12 13 14 15 16 17 18 19 20 21 cd rclone-*-linux-amd64sudo cp rclone /usr/bin/sudo chown root:root /usr/bin/rclonesudo chmod 755 /usr/bin/rclonesudo mkdir -p /usr/local/share/man/man1sudo cp rclone.1 /usr/local/share/man/man1/sudo mandbsudo rm rclone.zipsudo rm -rf rclone-*-linux-amd64
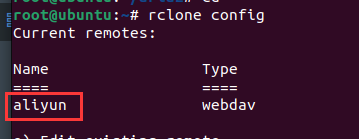
输入rclone config即可进入配置界面,
n) New remote -> 输入名称(挂载的时候会用到)例如aliyun -> 选择46(这个序号不一定是46)WebDAV (webdav) -> 输入url,例如http://192.168.1.118:8081 -> 选择5 / Other site/service or software -> 输入用户名admin -> 输入yy) Yes, type in my own password -> 输入密码,没有回显需要输入两遍admin -> bearer_token> 直接回车 -> Edit advanced config? 选择 n) No (default) -> Keep this “aliyun” remote? 选择 y) Yes this is OK (default)
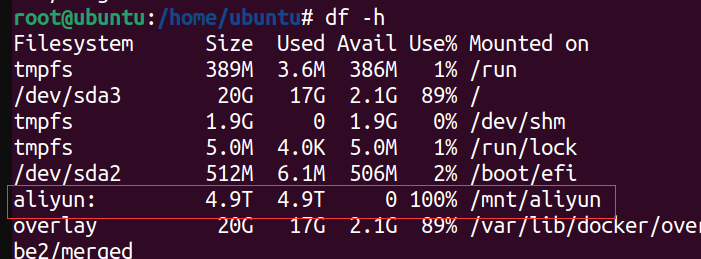
rclone挂载 如果是Linux直接挂载即可。Windows用户需要下载WinFsp,执行命令需要使用git bash。
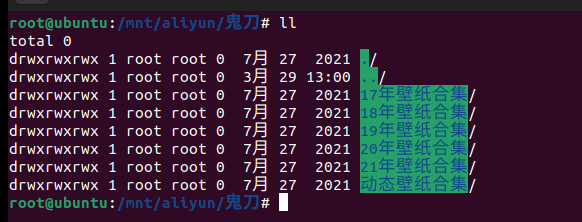
webdav挂载 1 2 3 4 5 mkdir -p /mnt/aliyunumask 000 --daemon
1
2
3
4
crontab -eumask 000 --daemon
Windows需要下载WinFsp 官网 GitHub 。执行需要使用git bash
rclone设置为环境变量,具体百度。
1 2 3 rclone mount webdav: o: --cache-dir D:\Temp --allow-other --vfs-cache-mode writes --allow-non-empty
1
2
rclone.exe mount ali:/ W: --vfs-cache-mode writes --cache-dir D:\Temp --network-mode --no-check-certificate --default-permissions --header "Referer:https://www.aliyundrive.com/" --vfs-read-chunk-size-limit 1G --vfs-read-chunk-size 64M --dir-cache-time 12h --buffer-size 32M
其他网盘的挂载
安装Alist,参考
对网盘进行配置
打开alist的webdav功能,地址为http://ip:5244/dav,如果反代就是 https://域名/dav
百度网盘 1 2 3 4 5 6 rclone mount baidu:/ K: --vfs-cache-mode writes --header "Referer:https://pan.baidu.com/" --header "User-Agent:pan.baidu.com" "Referer:https://pan.baidu.com/" --header "User-Agent:pan.baidu.com" "Referer:https://pan.baidu.com/" --header "User-Agent:pan.baidu.com" --no-modtime --multi-thread-streams 8 --vfs-read-chunk-size 256M --vfs-read-chunk-size-limit 600M --buffer-size 4096M
阿里网盘 1 2 3 4 rclone mount Alist: /volume3/6T/Alist --use-mmap --umask 000 --allow-other --allow-non-empty --dir-cache-time 24h --cache-dir=/home/cache --vfs-cache-mode full --buffer-size 512M --vfs-read-chunk-size 16M --vfs-read-chunk-size-limit 64M --vfs-cache-max-size 10G --daemon"Referer:https://www.aliyundrive.com/" --vfs-read-chunk-size-limit 1G --vfs-read-chunk-size 64M --dir-cache-time 12h --buffer-size 32M
迅雷云盘 1 2 3 4 rclone mount ThunderNetdisk:/ T: --cache-dir D:\Temp --vfs-cache-mode full --multi-thread-streams 8 --vfs-read-chunk-size 256M --vfs-read-chunk-size-limit 800M --buffer-size 4096M
开机自动挂载;
编辑 /etc/crontab
1
2
vim /etc/crontabumask 000 --daemon
参考:
https://github.com/messense/aliyundrive-webdav
https://rclone.org/install/
https://messense-aliyundrive-webdav-backendrefresh-token-ucs0wn.streamlit.app/
https://blog.csdn.net/qq_35764295/article/details/126379879
https://github.com/rclone/rclone
https://blog.csdn.net/csdn_life18/article/details/127234864
https://blog.csdn.net/qq_27387809/article/details/105443924
https://post.smzdm.com/p/agqo096d/
